On Saturday 11th August, we moved from the Release Candidate of TFS 2012 to the RTM version.
The move to TFS 2012 RC was fairly straightforward, however there was some work to be done after the move to repair broken builds and our Projects SharePoint site. The move from RC to RTM represents less of an upheaval, but as this is SSW's most important server, we can't take shortcuts!
Once again, SSW is the first company I know of to make the move to TFS 2012 RTM!
Summary
I'll be going through the steps we took to migrate from RC to RTM below. It's not quite as detailed as the move from 2010 to RC, but it's still fairly comprehensive.Rather than move hardware again, we did an in-place upgrade. This was our preferred option considering it was a fairly basic incremental upgrade and our environment was upgraded last time so it was still quite new.
The plan was:
- Screenshot our existing configuration
- Back up the databases and snapshot the servers
- Uninstall TFS 2012 RC
- Install TFS 2012 RTM
- Configure TFS 2012 RTM (including Reporting Services and Build Servers)
Before you start
Just as we did last time, the first step was to send an email letting everyone know there would be a TFS over the weekend. See our Rules to Better Networking for an example of how to do it.If you're doing the upgrade, you'll also need administrator access to the servers. Just as last time, I got promoted for the weekend.
Unlike last time, we'll be using the same environment as our existing servers so there's no need to build new machines. It's important for your rollback plan to get a snapshot of the servers before you start, so make sure you do that before making any changes.
We'd suggest an environment that looks like ours:
- Windows 2008 R2 server: TFS 2012 RC and a local SharePoint instance
- Windows 2008 R2 server: SQL Server 2012
Preparation Steps - save your existing configuration
Unlike moving from TFS 2010, this is an incremental release (RC to RTM) and we can expect the configuration to be more or less identical. To make life easier for me, I opened the TFS Administration Console and took a screenshot of each setting. This ensures I don't forget any of the settings.Once I've saved everything I need, we can get going on the install.
Preparation Steps - stopping the servers and backing up
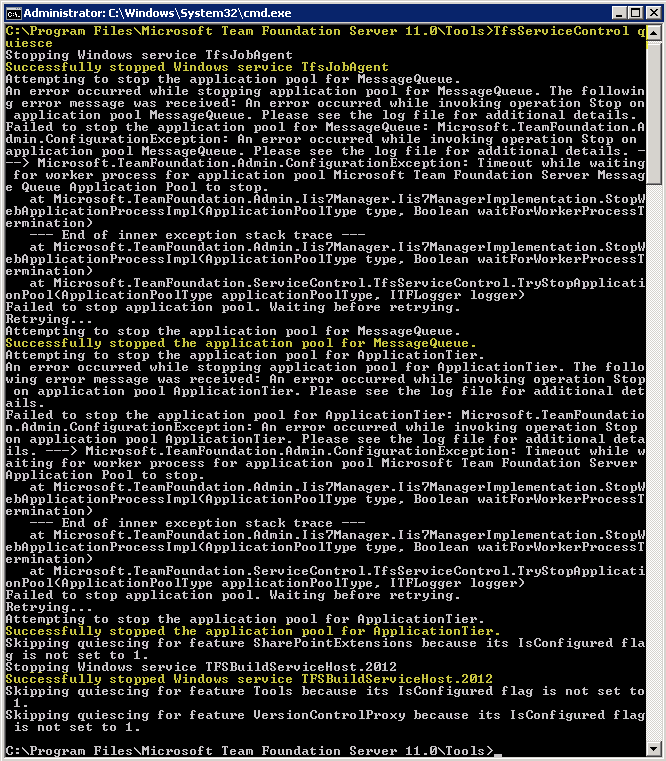
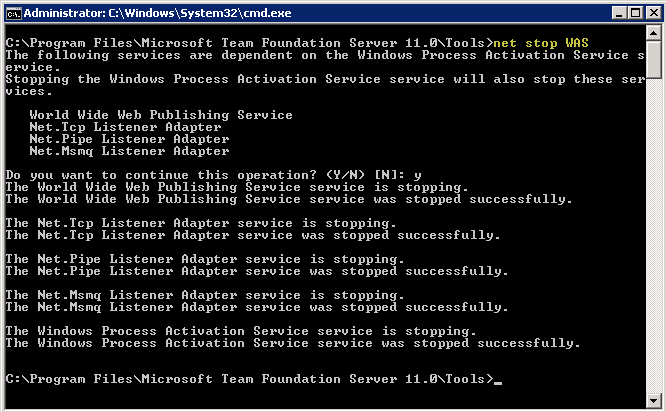
- Take the TFS 2012 server offline. This is important because we don't want any checkins or work item changes to come through while we're halfway through the process. They may miss the upgrade!
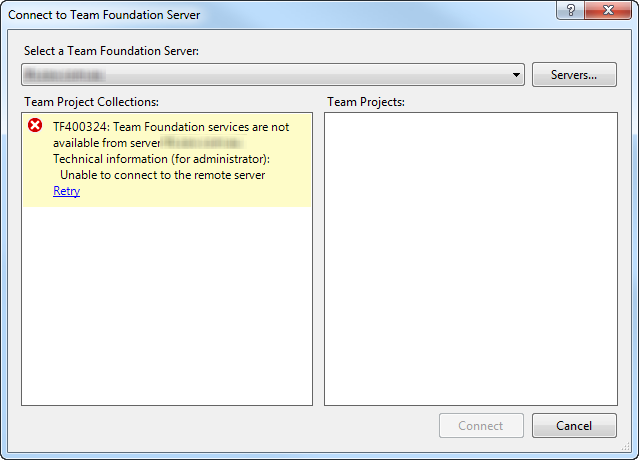
- Verify that you can't connect to the TFS server by trying to connect in Visual Studio
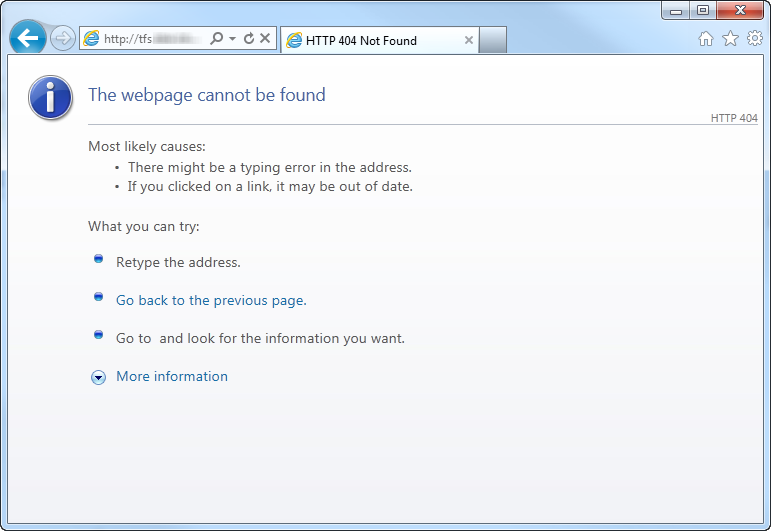
 And that you can't visit the TFS Web Access
- At this stage, it's a good idea to run the DogFood Stats queries from Grant Holliday. Document the numbers so you can compare them after the upgrade to make sure you haven't lost anything. If you have more than one Project Collection, make sure you do this over every Project Collection you care about.
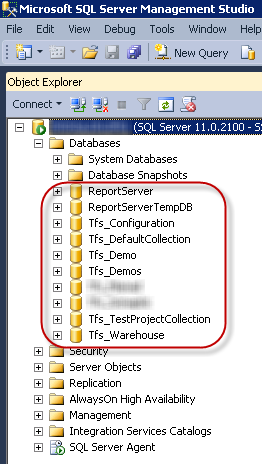
- Back up the TFS and Reporting Server databases
We have a few relevant databases because we have a number of Project Collections.
- Back up the Reporting Services Encryption Keys. We'll need these later to reconfigure Reporting Services against the restored databases. To back up the encryption key, follow the steps on the MSDN page.
Uninstalling TFS 2012 RC
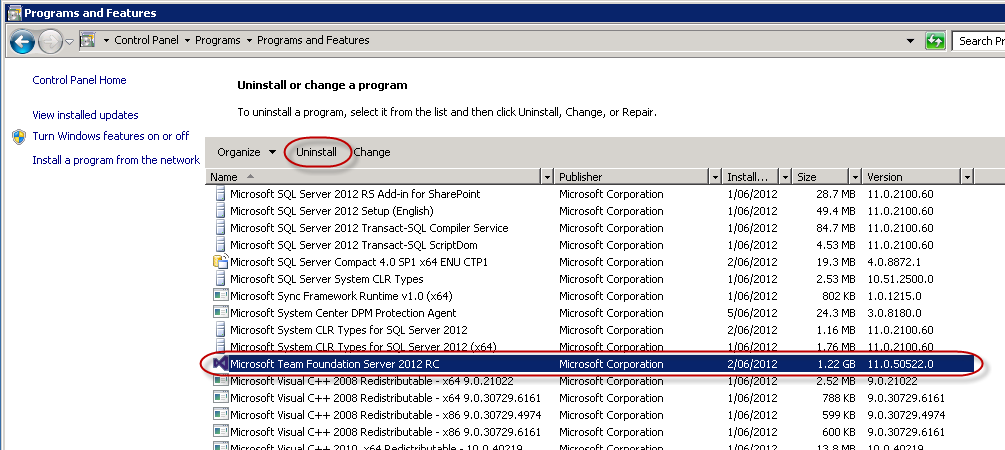
- Go to the Programs and Features tool on your TFS Server
- Select Microsoft Team Foundation Server 2012 RC and click Uninstall
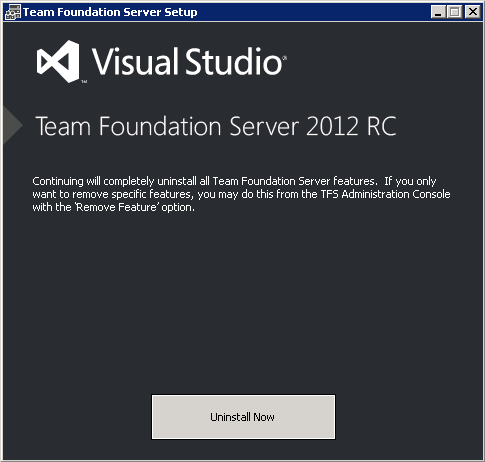
- Click the big Uninstall Now button, and click Yes when asked to confirm.
Installing TFS 2012 RTM
- Because we’re installing from an ISO rather than a physical CD, we mount the ISO using SlySoft’s Virtual CloneDrive (or your favourite alternative).
- Run tfs_server.exe from the installation disk or ISO.
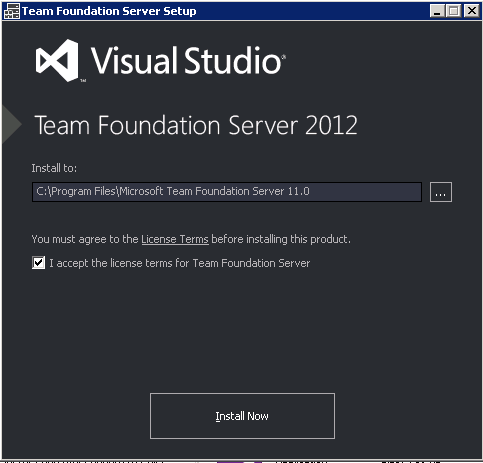
- Accept the license terms and click Install Now.
- Watch the progress with excitement and trepidation (and coffee)
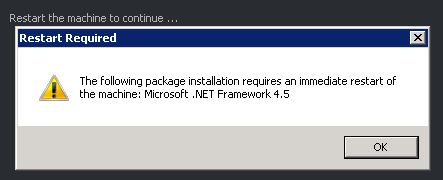
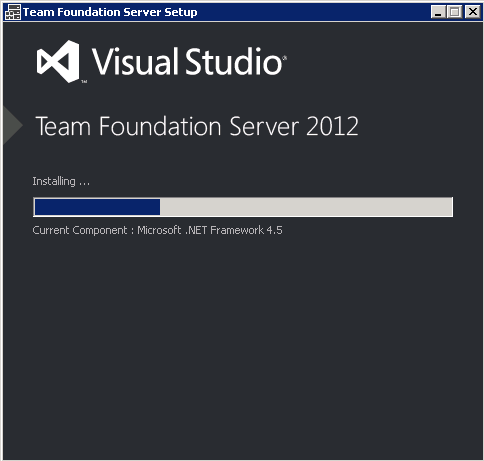 You may get a message asking you to reboot the machine. If it does appear… restart the machine.
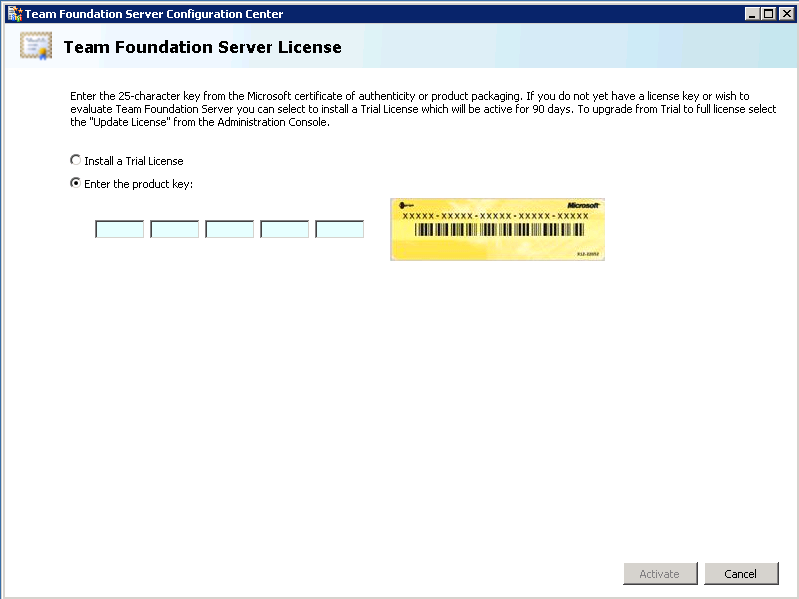
- When installation finishes, enter your product key (or install a trial license) and click Activate.
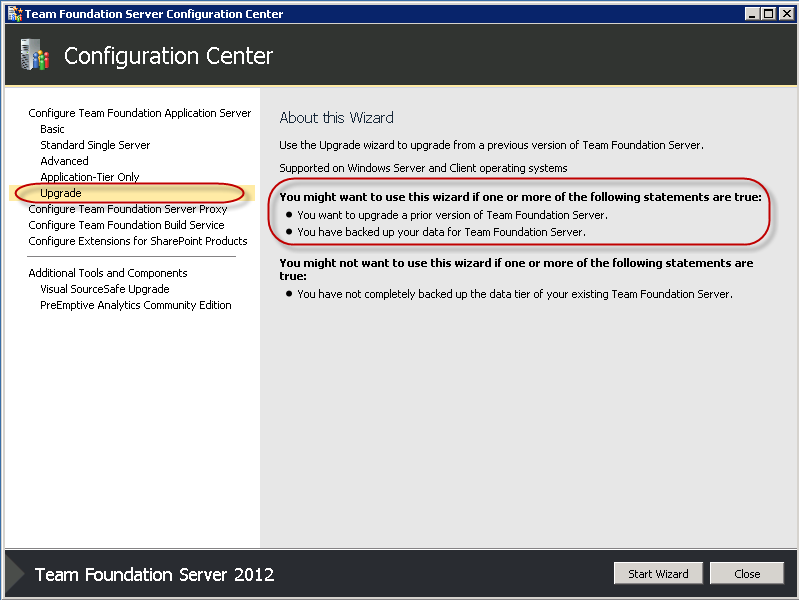
- Choose Upgrade from the left-hand menu and click Start Wizard.
- Clck Next on the first screen presented.
- We're now asked to upgrade an existing database. Type in your SQL Server instance name and then click List Available Databases. The tool should find your TFS Configuration database.
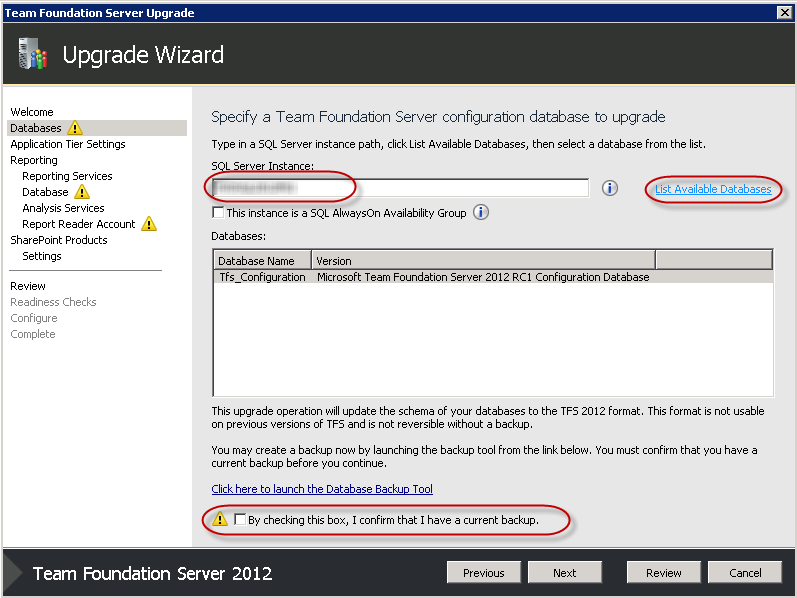 Confirm you have a current backup, then click Next.
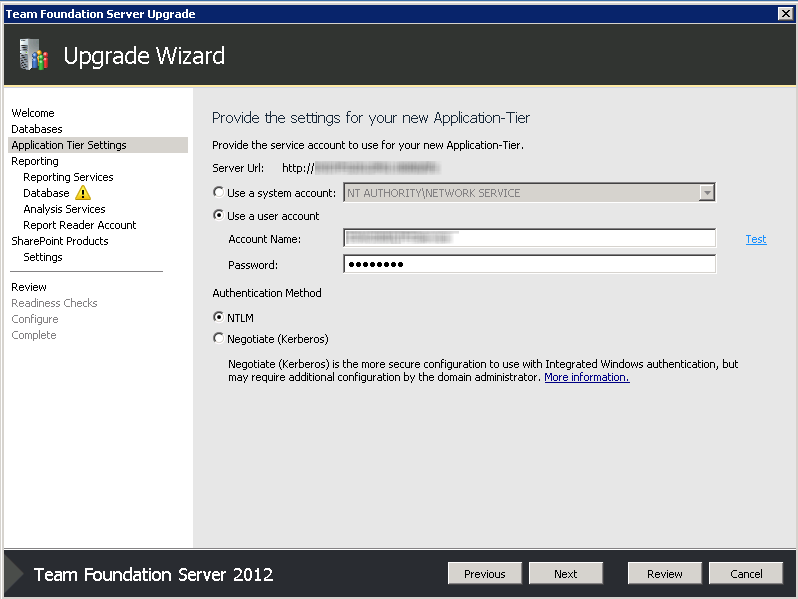
 - Next, we're asked for the service account for our Application Tier. To make sure this is consistent, check the screenshots you created right at the start in your Preparation Steps. Click Next.
- Next up, we’re asked if we want to configure reporting services. Make sure the checkbox is checked, then click Next.
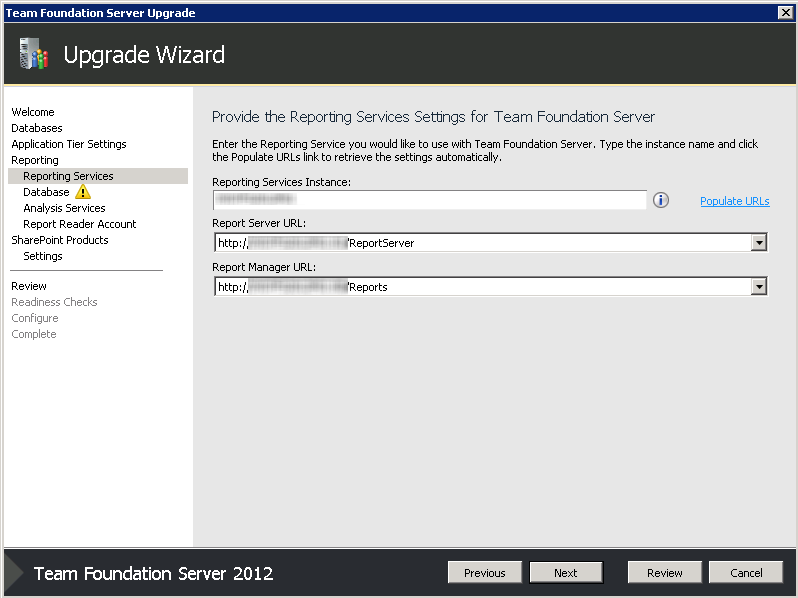
- Again checking your screenshots, make sure the instance and URLs for your Reporting Services instance are correct, and click Next.
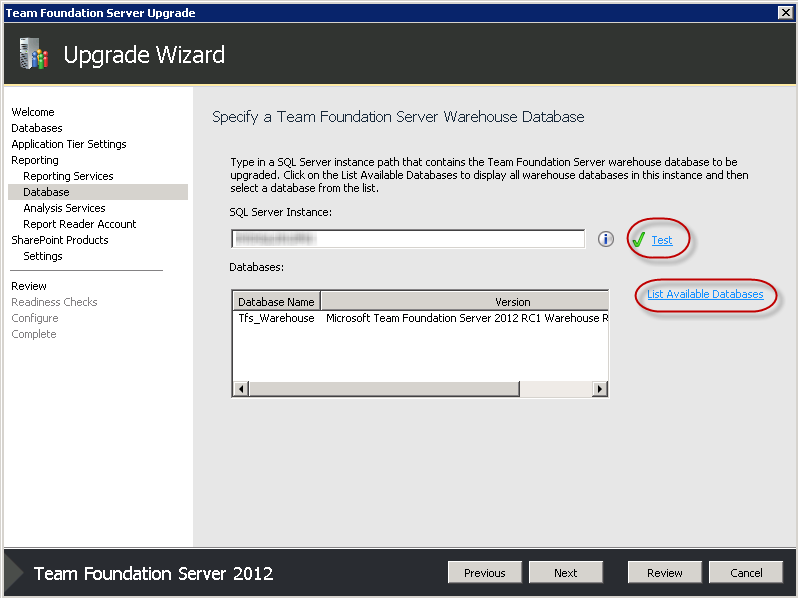
- Next up is the TFS Warehouse database.
Enter the correct SQL Server instance (if it's not already correct), then test the connection by clicking on Test, then click List All Available Databases. The wizard will find the Tfs_Warehouse database automatically. If everything is correct, click Next.
- Next, you're asked for your Analysis Services instance. Again, check your screenshots and enter the correct information before clicking Next.
- Next, we’re asked to provide an account that the Reports will run as. Check your screenshots and click Next.
- Next we’re asked if we want to configure SharePoint for TFS, we do, so we’ll make sure the checkbox is checked and click Next.
- Important: Even if you have a different SharePoint setup, it's advisable to simply use the current SharePoint settings at this point. If you enter new details, the final step will have trouble verifying the installation as it will think you have two SharePoint instances. Don't worry, you can change it later.
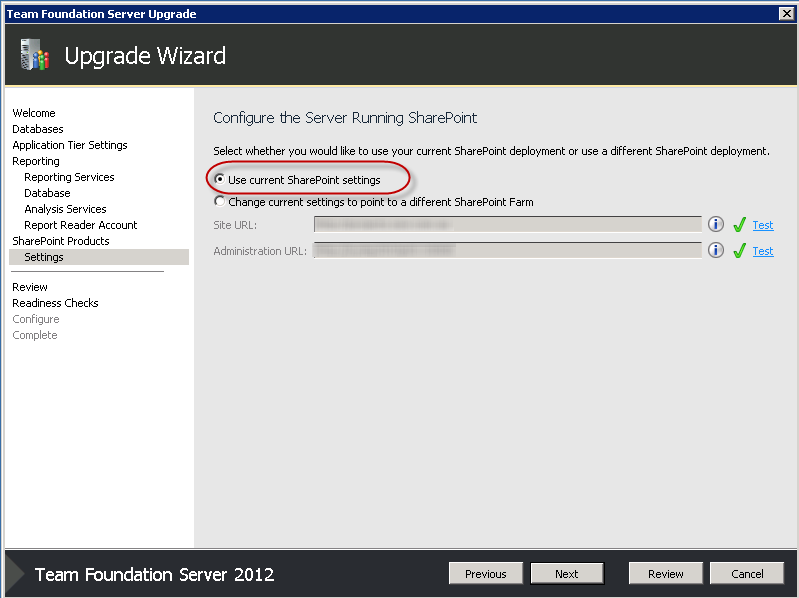
- On the next screen, we'll get a summary of all the options we've chosen.
Go through them carefully to make sure everything is correct, and click Verify to check.
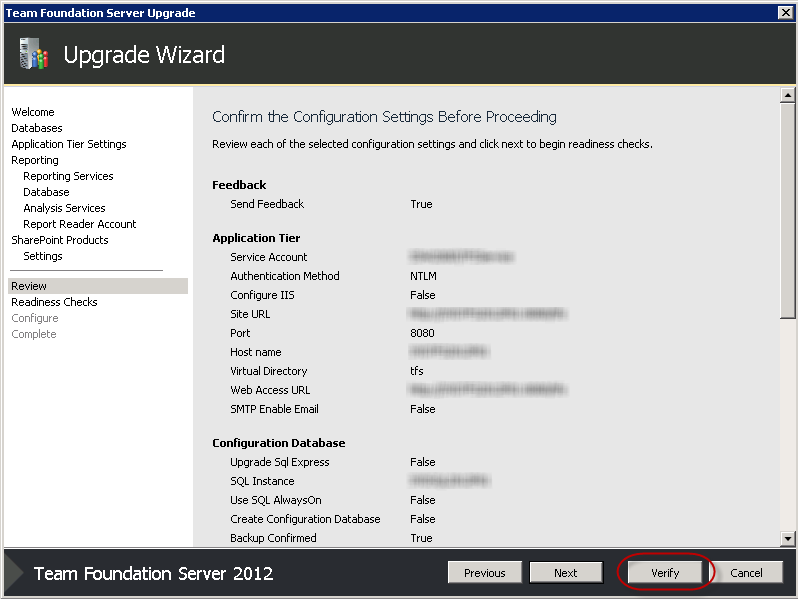 Once again I got errors at this point and was told I had to restart the server.
After restarting 3 times with no success, I got suspicious and searched for a solution.
Thankfully, a blog post by Steve Wiseman helped me out and I finally got through.
 - Once the readiness checks pass, click Configure.
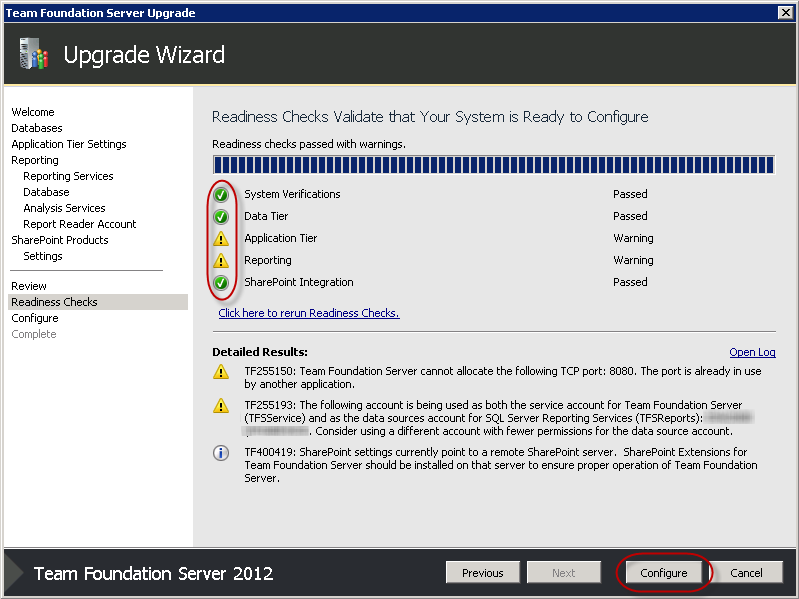 Note: You can see I have some warnings here. The first is because we're using a non-standard port. I'll be able to change that later. The second is letting me know I'm using a single TFS Account for two purposes. We've analysed this and are happy to take that risk.
 - Configuration will start now and may take some time. Maybe grab a coffee and have a chat with your neighbour. When it's finished, make sure you have all green ticks and then click Next.
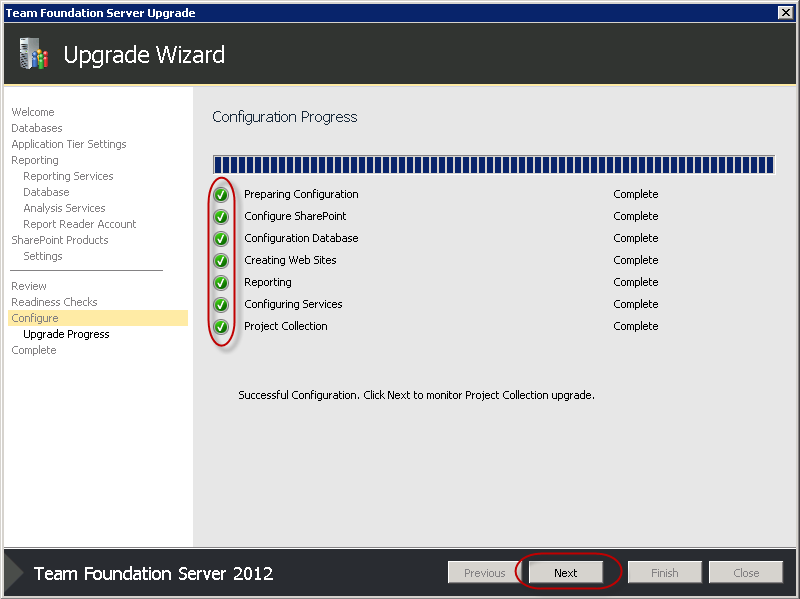
- Now, each of the Project Collections will be updated. If you're moving from RC, this should take no time at all.
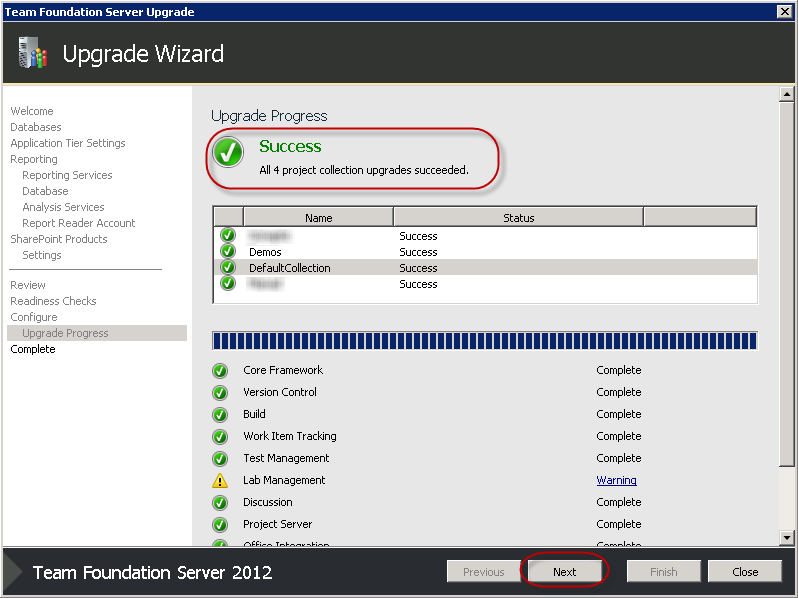 Once you get a big green tick, click Next.
Note: The Lab management warning told us it couldn’t tear down any labs. As we didn’t have any set up, this wasn’t an issue.
 - Finally, you'll get a success message and the upgrade is complete!
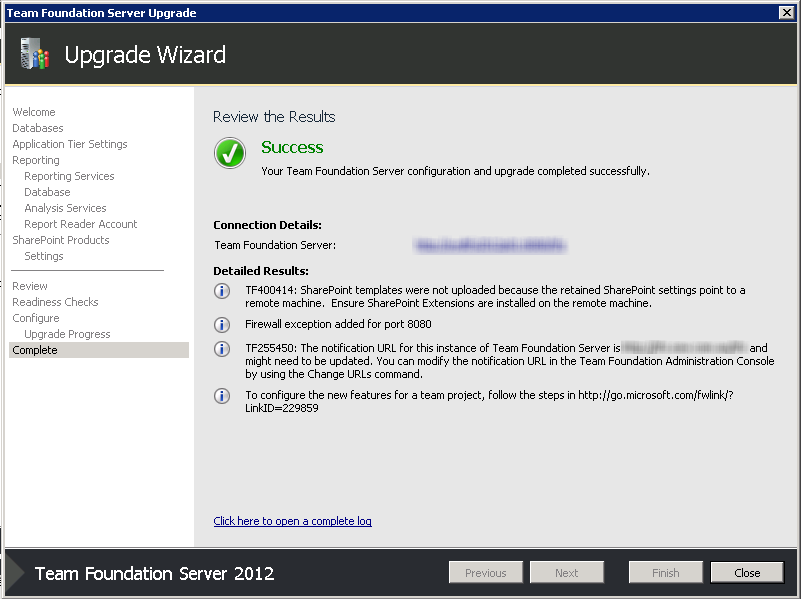
- You should now run the DogFood Stats queries from Grant Holliday again to make sure there are no big changes. If you've upgraded from RC, the numbers should be identical.
Configuring the new installation
There are some additional steps you may need to take to get everything back up and running.- I used the Build Service Configuration Wizard to re-setup our Build servers. If you're using a separate Build Server from your TFS Server, you'll need to go through the steps to uninstall and reinstall TFS 2012 RTM on the Build Server before completing the below steps on the Build Server.
- On the Build Configuration tab, click Configure Installed Features to start the wizard.

- The tool detected our previous settings, so setting up was straightforward.
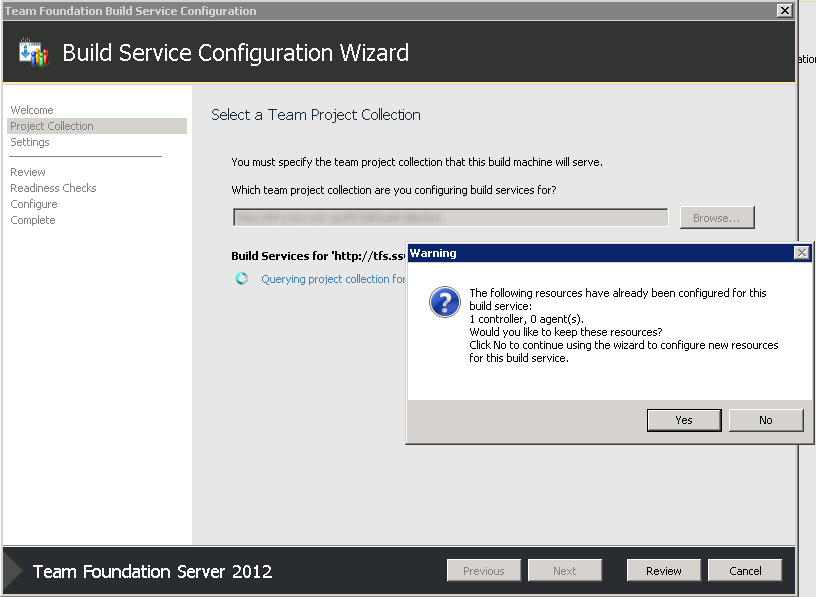
- After choosing your Project Collection, you're asked for your build service credentials. It's a good idea to have a separate account for builds, so I entered those details.
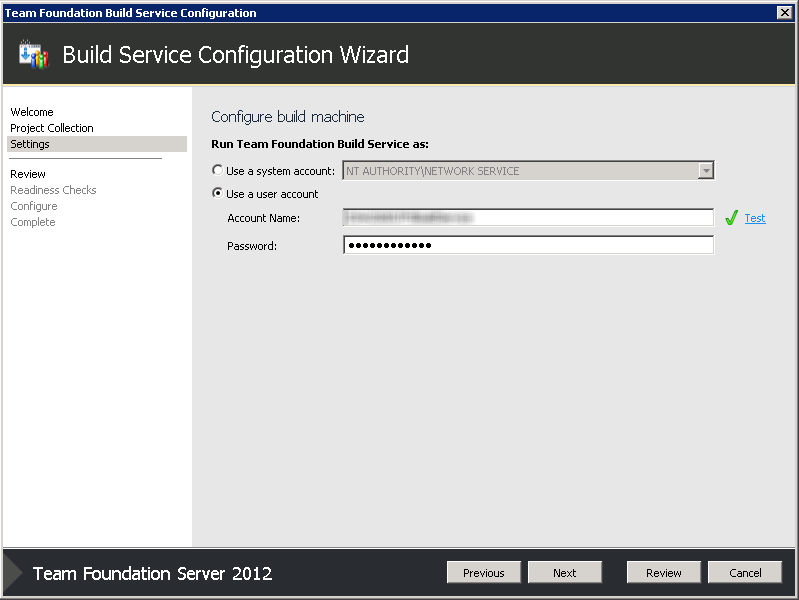
- Check the settings in the confirmation screen and click Verify to confirm.
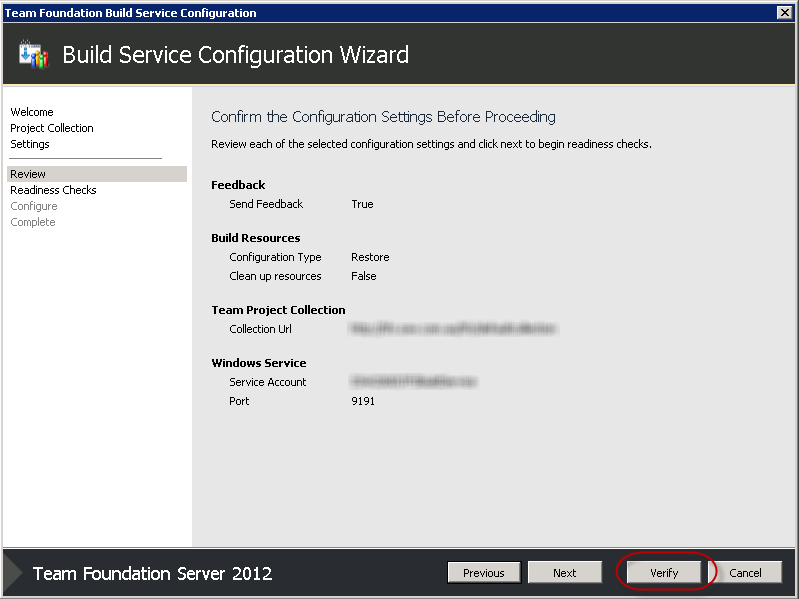 Note: Again, you might need to reboot your machine before being able to get past the Verify screen. If this doesn't work, refer to Steve Wiseman's post again.
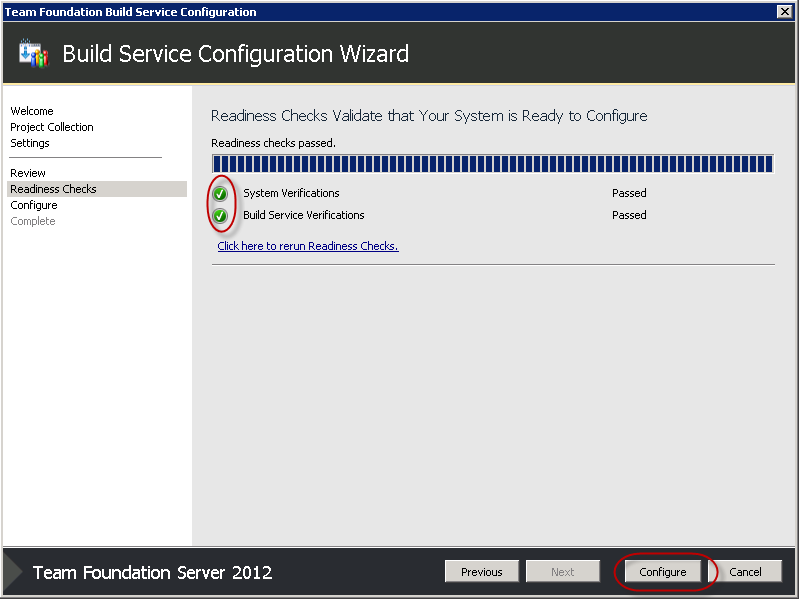
 - Once you get all green ticks, click Configure.
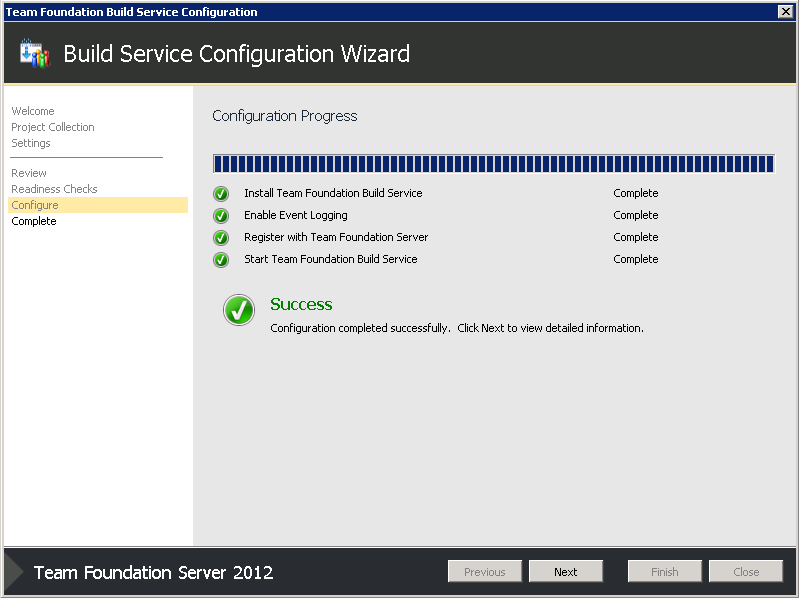
- You should get a big, green Success tick as your reward.
- You'll also need to upgrade Team Foundation Server on any Build Servers you have.
Testing
After the final steps were completed, we went through the following tests to make sure everything was up and running again.- Open Visual Studio and connect to TFS
- Do a Get Latest
- Make a change and check in
- Trigger a build and wait for it to succeed
- Check TFS Web Access is working by navigating to the TFS URL
- Check the Reporting Services are still working by navigating to the reporting URL
We're up and live on TFS 2012 RTM!
